Repair a Microwave Oven: A Step-by-Step Guide
Learn how to diagnose and safely repair a microwave oven with a clear, step-by-step approach. This guide covers common issues, essential safety practices, and when to seek professional help, all tailored for home cooks.

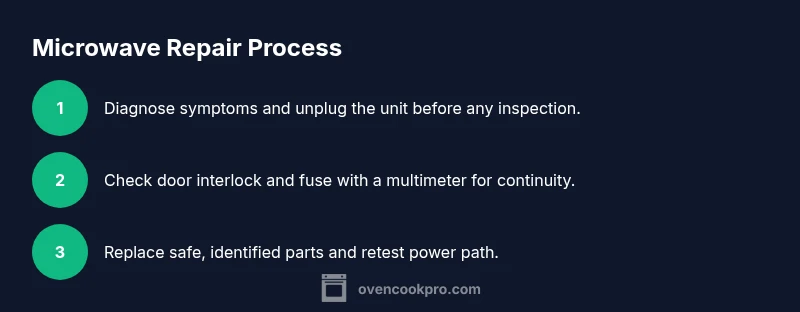
By the end of this guide, you will safely diagnose and repair common microwave issues. Start with unplugging the unit, then inspect the door interlock, thermal fuse, and high‑voltage components. If a simple fuse or switch is at fault, you can replace it with proper parts and retest. For uncertain or hazardous problems, rely on professional service. This approach follows Oven Cook Pro guidance for safer, reliable results.
Understanding Microwave Anatomy
If you are here to repair a microwave oven, start with a basic map of its key parts. At the core is the magnetron, which converts electrical energy into microwaves that heat food. The waveguide redirects those waves into the cooking chamber. A high‑voltage transformer, a HV capacitor, and a diode form the power path for the magnetron. The control board interprets user input and controls the sequence of operation. A door interlock switch prevents operation when the door is open, and the turntable motor ensures even heating. Knowing how these pieces interact makes it easier to locate likely failure points without unnecessary disassembly. According to Oven Cook Pro, most issues begin with door interlocks or protective fuses—two components designed to keep you safe while the unit operates. Keeping a mental map of these parts helps you reason through symptoms, avoid risky tests, and decide when a problem is beyond DIY repair. The goal is not to replace every part, but to identify faults safely and efficiently. This section sets the foundation for the practical troubleshooting steps that follow, especially when you’re working with a device powered by high voltage.
Note: Always verify unplugged status and discharge times before touching internal components. If you smell burning insulation or see exposed copper, stop and seek professional help immediately. Safety first keeps you and your home out of danger while repairing a microwave oven.
Tools & Materials
- Screwdrivers (Phillips and flat-head)(For cabinet screws and panel removal)
- Multimeter(For continuity and voltage checks)
- Insulated gloves(Protect hands from sharp edges and hot components)
- Non-conductive pry tool(Gently lift panels without shorting circuits)
- Replacement fuse (same amperage rating)(Only if you confirm a blown fuse)
- Door interlock switch (replacement)(Optional for door switch diagnosis)
Steps
Estimated time: 90-180 minutes
- 1
Power down and unplug
Unplug the microwave and confirm the cord is fully detached from the outlet. If it has a removable power cord base, remove it and store it. This prevents any risk from stored electrical energy in the HV circuit and capacitors. After unplugging, wait at least 60 seconds to ensure residual charge dissipates before handling internal components.
Tip: Always handle internal parts with dry hands and use insulated tools. - 2
Remove the outer cabinet
Use the appropriate screwdriver to remove rear panel screws and carefully slide off the cabinet. Keep screws organized so you can reassemble later. This exposes the internal chassis and access to the door interlock, fuse point, and control board.
Tip: Take photos as you go to aid reassembly and note any model-specific screws. - 3
Inspect obvious signs of damage
Look for burnt smells, melted insulation, exposed wires, or melted connectors. Visible damage often points to high‑voltage components or a compromised power path. Do not touch damaged parts; instead isolate them and plan a replacement or professional service.
Tip: If you see arcing marks or discoloration, pause and consult a pro. - 4
Test the door interlock switch
Disconnect power and access the door interlock switch. Use a multimeter to test continuity when the door is closed. If the circuit does not close or shows inconsistent readings, the interlock switch may be faulty and require replacement.
Tip: Test with the door both open and closed to verify proper operation. - 5
Check the fuse and thermal fuse
Visually inspect the fuse for a broken element and use a multimeter to verify continuity. If the fuse is open, replace with an identical amperage rating. The thermal fuse is a safety device that cuts power when overheating; if it trips repeatedly, investigate airflow or a failed cooling system.
Tip: Never bypass a blown fuse; replace with the correct rating and address underlying causes. - 6
Assess the magnetron and high‑voltage path
Access to the magnetron is risky; if you suspect magnetron failure, consult a professional. You can perform noninvasive checks such as measuring the HV diode and capacitor with specialized equipment, but avoid touching energized parts. If you notice buzzing, unusual smells, or sparking, stop repairs immediately.
Tip: Do not attempt magnetron replacement unless you are trained and equipped.
Questions & Answers
Is it safe to repair a microwave oven myself?
Basic inspection after unplugging is relatively safe, but many repairs involve high voltage components. If you’re unsure, consult a professional. Always observe safety precautions and avoid disassembly of high‑voltage parts.
You can do basic checks after unplugging, but for high‑voltage parts, call a pro.
What are the most common reasons a microwave won't heat?
Common causes include a blown fuse, faulty door interlocks, damaged magnetron, or a failing HV diode. Start by testing the door switch and fuse, then inspect airflow and insulation for overheating indicators.
Most non-heating issues come from a blown fuse, door switch, or magnetron problems.
Can I replace the magnetron myself?
Magnetron replacement involves high voltage and toxic materials; it is hazardous. It’s best left to a trained technician with proper safety protocols and equipment.
Magnetron replacement is risky; it’s best handled by a professional.
Why does the turntable not rotate?
The issue could be a worn turntable motor, a faulty motor coupling, or a damaged drive gear. Inspect the motor and connection to the turntable shaft and replace parts as needed.
Turntable issues usually come from the motor or its coupling.
How long does a microwave repair take?
Repair time varies with parts availability and problem complexity. Plan for a few hours for diagnosis, disassembly, and reassembly, plus potential parts shipping.
Most repairs take a few hours depending on the problem.
How can I prevent future microwave issues?
Regular cleaning, avoiding metal objects, proper venting, and scheduling periodic safety checks help extend life. Address clogs and overheating promptly to avoid repeated failures.
Keep it clean, vented, and serviced to prevent repeat failures.
Watch Video
Main Points
- Identify core components before tearing into the unit
- Prioritize safety and unplugged testing over aggressive probing
- Start with door switches and fuses; these are common failure points
- Reserve magnetron work for professionals
- Document the repair for future maintenance